Skip to content
 Polishing aluminum is an excellent way to restore shine, remove oxidation, and create a mirror-like finish. When working with aluminum, the process of polishing aluminum not only enhances the metal’s appearance but also adds a layer of protection.
Whether you’re working on automotive parts, CNC components, or household items, learning how to polish aluminum properly ensures long-lasting beauty and durability. This guide covers everything from preparation to protection — so you can achieve a professional, reflective surface with ease.
Why Polishing Aluminum is Important
Polishing aluminum isn’t just about aesthetics—though a glossy finish is certainly a major benefit. It’s a critical step in protecting the metal and extending its lifespan. Here’s why it’s important:
- Fight Oxidation: When exposed to air and moisture, aluminum naturally forms a chalky white oxide layer. Over time, this layer thickens, making the metal look dull and even weakening its surface. Polishing removes existing oxidation and creates a smooth base that slows down future buildup.
- Prevent Corrosion: A well-polished aluminum surface is less prone to rust and corrosion, especially for items used outdoors (like patio furniture) or in damp environments (such as kitchen appliances).
- Boost Durability: Scratches and dents on aluminum can trap dirt and moisture, accelerating wear and tear. Polishing smooths out these imperfections, reducing the risk of further damage.
- Enhance Appearance: Let’s not overlook the visual advantage—polished aluminum adds a sleek, professional touch to everything from car rims to decorative pieces, giving old items a fresh, new look.
Preparation
Proper preparation before polishing ensures efficiency and avoids mistakes. This means gathering the right tools and setting up a clean, safe workspace. Always work in a well-ventilated area (polishing compounds can emit fumes) and wear protective gear like gloves, safety glasses, and a dust mask to shield yourself from debris.
Required Tools & Optional Tools
The tools you need depend on the size of your project and the condition of the aluminum. Below is a detailed breakdown of essential and optional items to streamline your process:
| Category | Required Tools | Optional Tools |
| Safety Gear | Chemical-resistant gloves, safety glasses, dust mask | Face shield (for heavy-duty sanding/polishing) |
| Cleaning Supplies | Mild dish soap, warm water, soft-bristled brush (e.g., a toothbrush), microfiber cloths | Aluminum-specific cleaner (for tough grease), pressure washer (for large items) |
| Sanding Tools | Sandpaper (120-grit, 320-grit, 400-grit, 600-grit), sanding block | Wet sanding sponge (for curved surfaces), orbital sander (for large areas) |
| Polishing Tools | Best aluminum polish (cutting compound + finishing compound), foam polishing pads | Wool polishing pads (for a deeper shine), aluminum polisher (handheld) |
| Protection Supplies | Aluminum sealant or protective wax, lint-free buffing cloths | Spray-on aluminum protectant (for quick application), buffing wheel |
Step 1 – Cleaning the Surface
Polishing directly on a dirty or greasy aluminum surface will trap debris, causing scratches and an uneven finish. Therefore, you need to thoroughly clean the surface first to ensure the polish adheres properly:
- Remove Loose Debris: Use a dry microfiber cloth or a soft brush to wipe away dust, dirt, or rust flakes.
- Wash with Soap and Water: Mix mild dish soap with warm water. Dip a soft cloth or brush into the solution and gently scrub the aluminum surface. For heavily greasy areas (such as engine parts), let the soapy water sit on the surface for 5–10 minutes to loosen the grease before scrubbing.
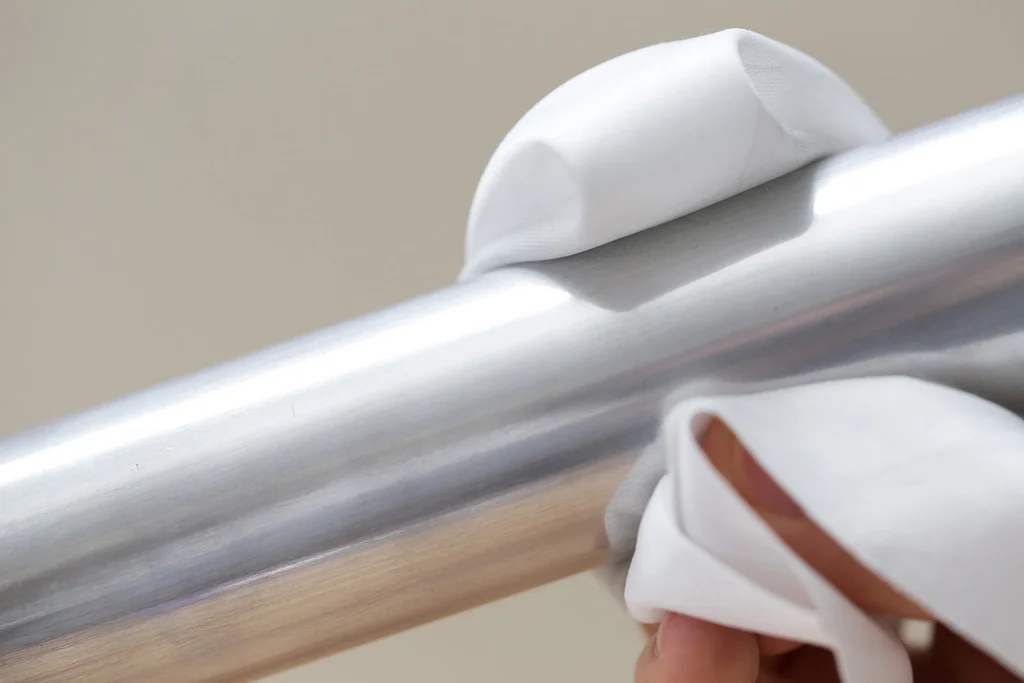
- Rinse and Dry: Rinse the surface thoroughly with clean water to remove soap residue. Immediately dry it with a lint-free microfiber cloth—aluminum surfaces are prone to water spots, so don’t skip this step!
Step 2 – Sanding the Aluminum
Sanding is the foundation for achieving a mirror finish. This step removes scratches, pits, and the heaviest layer of oxidized buildup. You are essentially creating a clean, level surface for the metal polish for aluminum to work on.
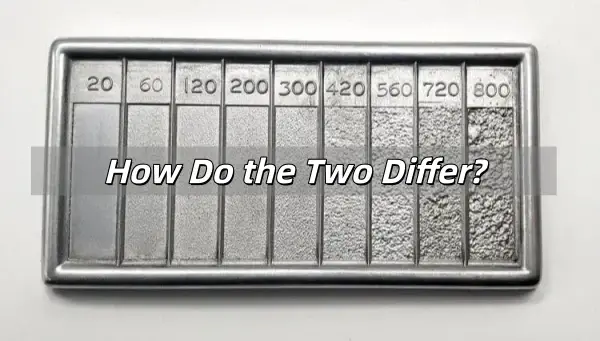
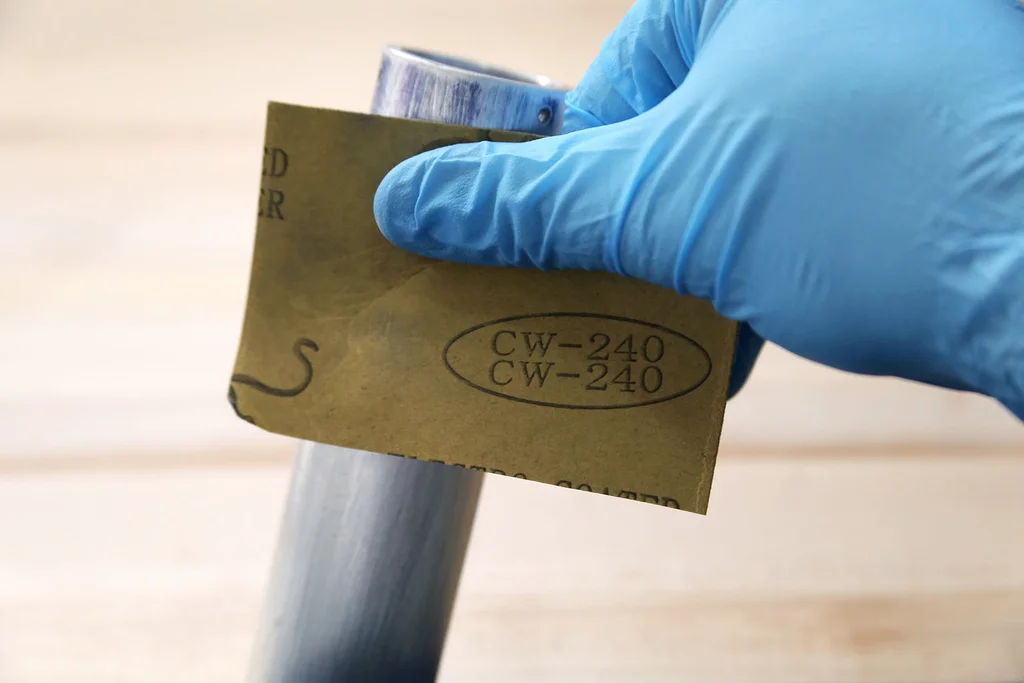
- Start with Coarse Grit: If the aluminum is heavily scratched or deeply pitted, begin with a coarser sandpaper (e.g., 220 or 320 grit). Sand in consistent, straight, overlapping lines until the scratches are uniform.
- Progress to Finer Grits: Gradually move to finer grits (400, 600, 800). Each finer grit should remove the sanding marks left by the previous, coarser grit. This is the most time-consuming step, but vital for quality.
- Wet Sanding: For the finest stages (800 grit and above), wet sanding with a little water or lubricant is highly recommended to achieve a smoother finish.
Step 3 – Buffing and Polishing
Once smooth, it’s time to bring out the shine. HRC also provides professional polishing for CNC aluminum parts.
Method 1: Hand Polishing
Apply a small amount of aluminum polish or metal polish for aluminum to a microfiber cloth. Rub the surface in gentle, circular motions. As the dullness fades, buff with a clean section of the cloth until you see a glossy reflection. Hand polishing works best for small items or fine detailing.
Method 2: Power Polishing
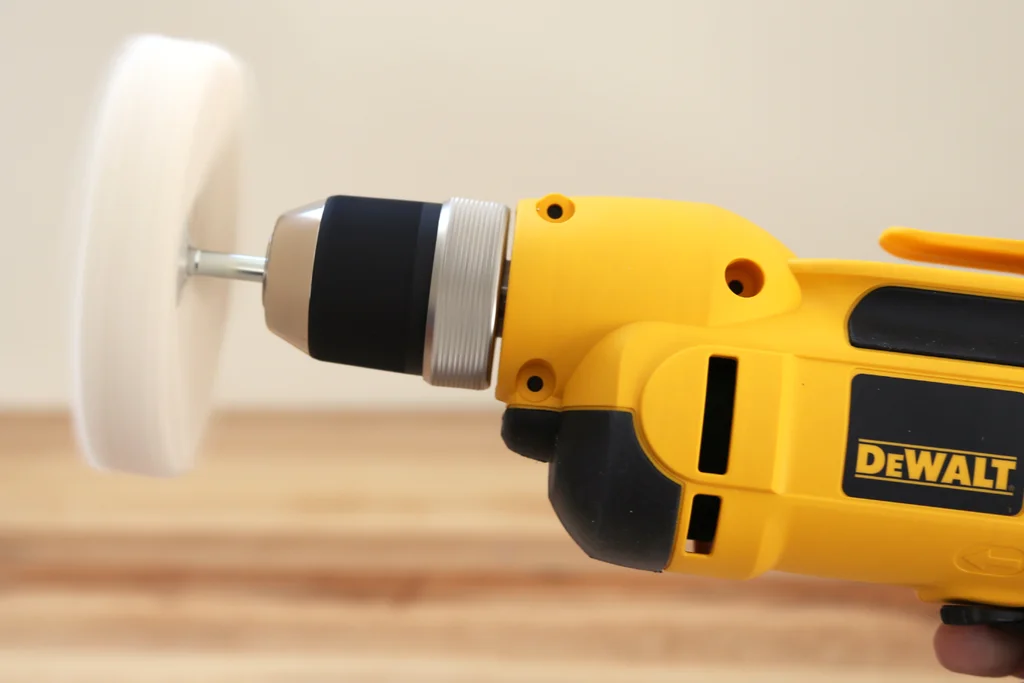
For large surfaces or industrial-level results, using an aluminum polisher (like a rotary tool or orbital buffer) is the way to go.
- Choose the Right Tool: Use a drill with a polishing attachment or an orbital sander. Pair the cutting compound with a wool pad (for more aggressive sanding) and the finishing compound with a foam pad.
- Apply Polish Sparingly: Too much aluminum polishing compound can splatter, so start with a pea-sized amount on the pad.
- Set the Correct Speed: Adjust the tool to low or medium speed (1,500–2,500 RPM for drills; 800–1,200 RPM for orbital sanders). High speeds can overheat the aluminum, causing discoloration.
- Polish Evenly: Hold the tool at a 45-degree angle to the surface and move it in slow, overlapping circular motions. Keep the pad flat against the surface to avoid uneven areas. After polishing with the cutting compound, switch to a finishing pad and repeat the process.
- Final Buff: Wipe away residue with a microfiber cloth, then do a quick hand buff to enhance the shine further.
Step 4 – Protecting the Polished Aluminum
To keep your polished aluminum looking great long-term, add a protective layer. This prevents oxidation, repels dirt, and reduces the need for frequent re-polishing.
Aluminum Sealant or Protective Wax
Silicone-Based Sealant: This is a durable choice for outdoor or high-use items. Apply a thin layer with a microfiber cloth, let it dry to a haze (about 10–15 minutes), then wipe it clean. It forms a protective barrier against moisture and UV rays.
Protective Wax: For indoor decorative pieces or aluminum items with light use, automotive wax or aluminum-specific wax works well. Apply it like you would car wax—rub it on, let it dry, then buff it to a shine.
Maintaining High-Use Items
High-use aluminum items like cookware, toolboxes, and car rims require regular maintenance:
Wipe the surface with a damp cloth after each use to remove dirt.
Reapply sealant or wax every 2–3 months to maintain protection.
Avoid harsh cleaners like bleach or ammonia, as they can strip the protective layer and damage the polish.
Special Tips for Different Situations
- Anodized Aluminum: If your aluminum is anodized, the oxide layer is much harder. You cannot achieve a bright shine without chemically or mechanically removing the original anodization first.
- Cast Aluminum: Cast aluminum is porous and often requires more aggressive sanding (starting with a lower grit) to remove the texture and achieve a smooth surface before polishing.
HRCCNC Industrial Aluminum Polishing
At HRCCNC, we specialize in precision CNC machining and professional aluminum polishing for industrial and commercial clients. Whether you need prototype finishing or large-batch production, our advanced equipment and skilled technicians ensure flawless polished aluminum every time.
We use top-grade compounds and the best aluminum polish for durable, mirror-like results.
Need custom aluminum finishing or CNC-machined components?
Contact HRCCNC today for a free consultation and quote — let’s make your aluminum shine like new.